


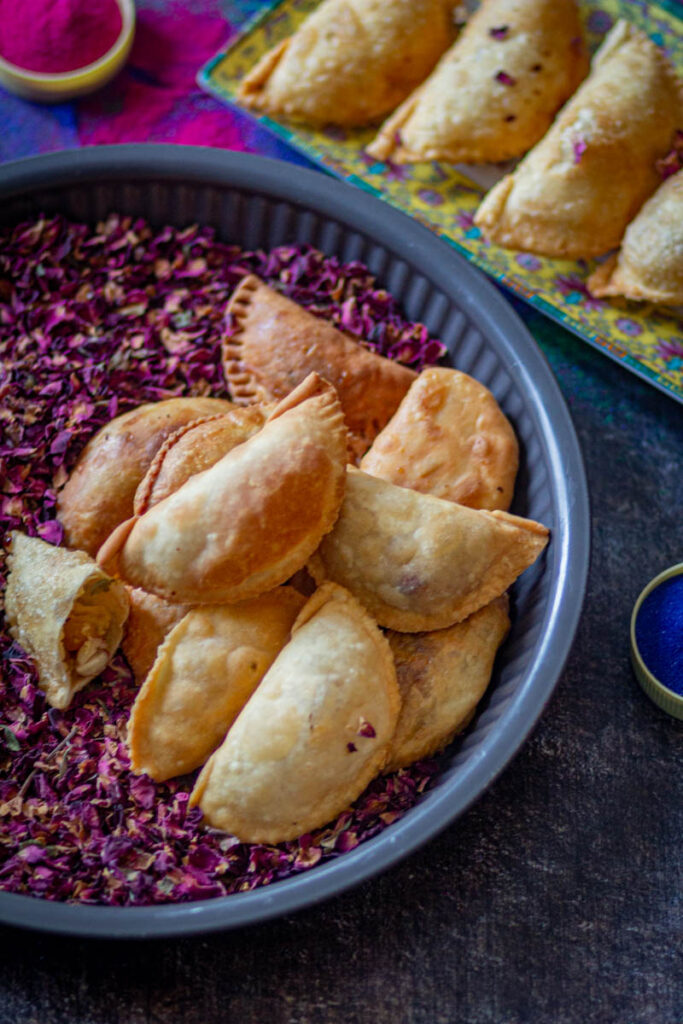
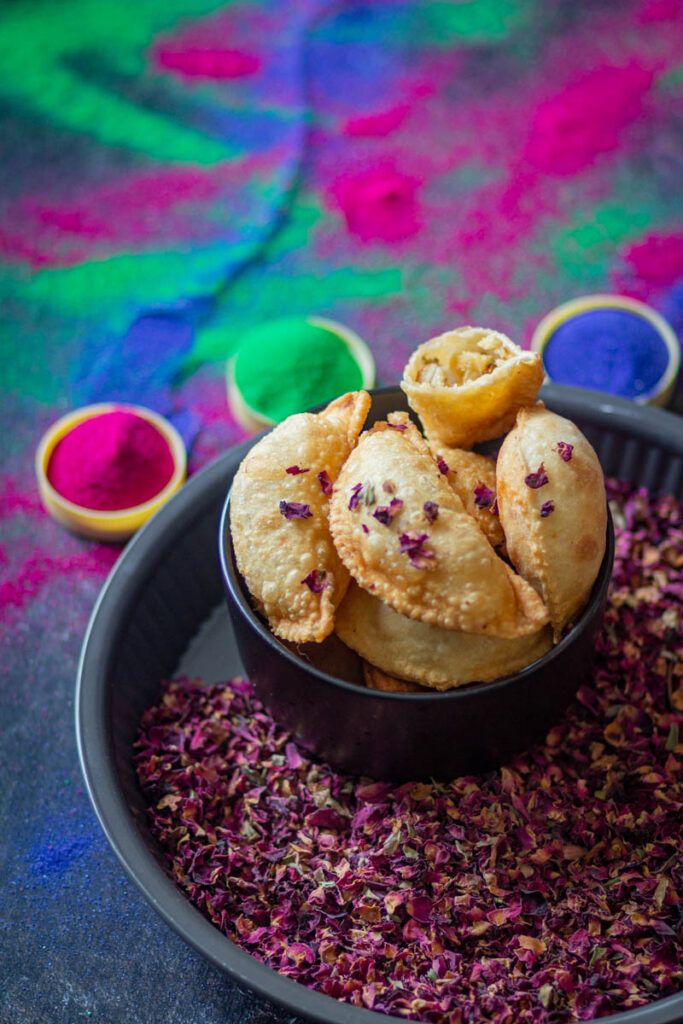
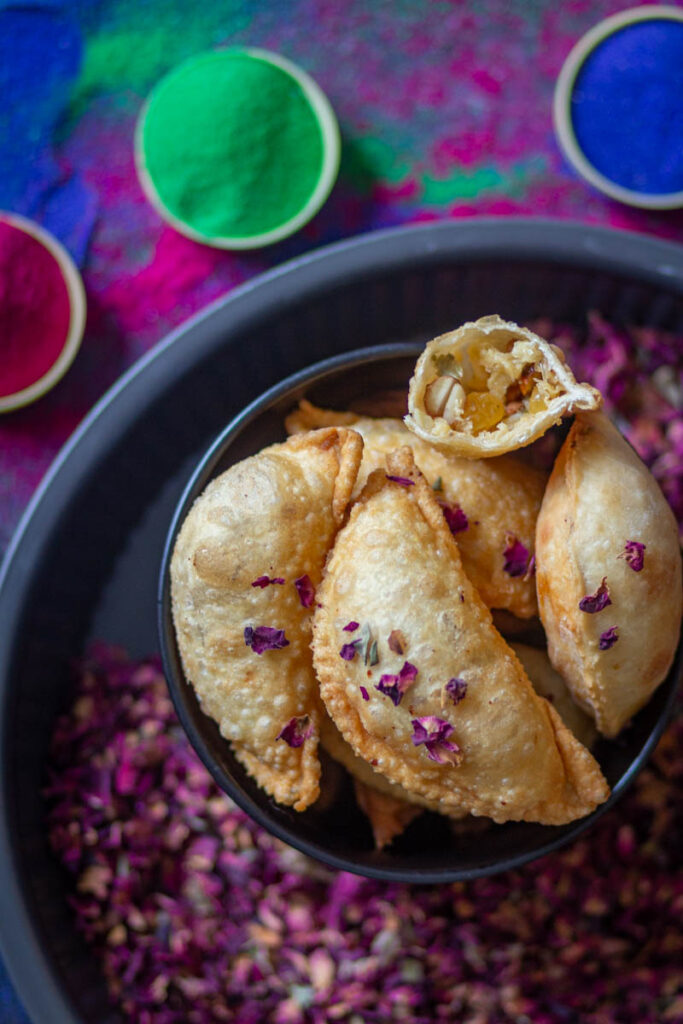
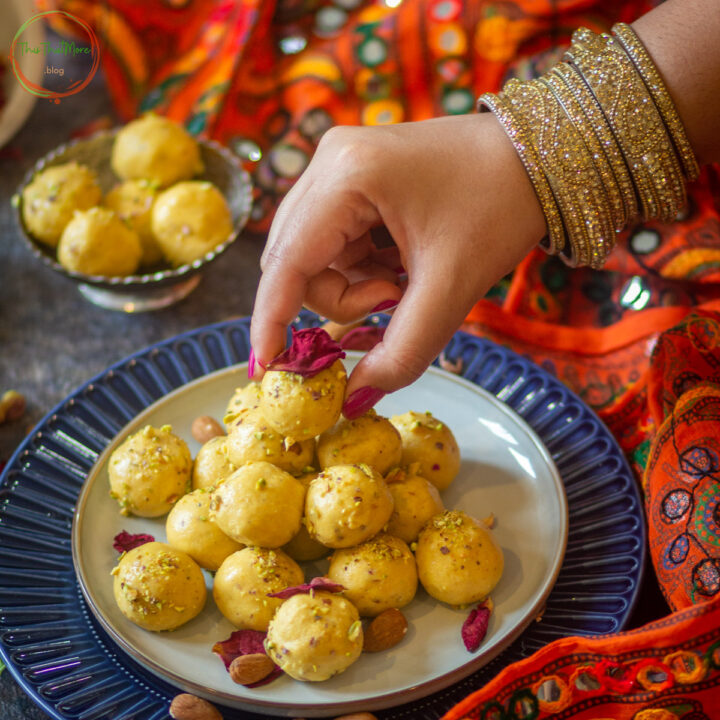
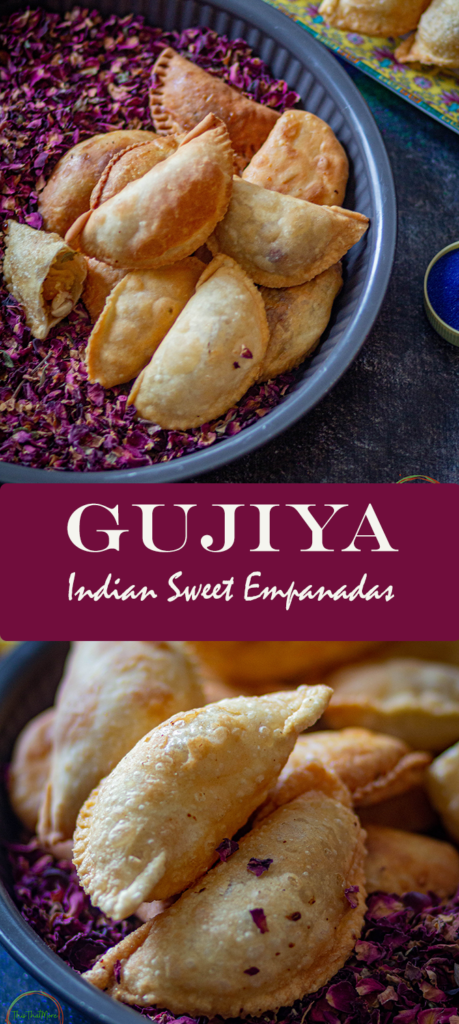
Gujiya is an Indian sweet that is made mostly during the Holi season. In fact, in some states of India, Holi is incomplete without this special sweet. It is made with Khoya/Mawa, coconut powder, dry fruits, and some aromatic spices (cardamom powder and fennel seeds powder).

There are a few food items that are special to me and gujiya is one of them. Every year during Holi, my Mom used to make it at home. That tradition is still going on but I'm not there to enjoy Mom's gujiyas now. I and all my sisters used to gather around the table when my Mom made these wonderful Holi treats. We all helped her either during frying or shaping the gujiyas. That process involved late-night music, some chit-chats, and lots of fun. I'm trying to carry on this tradition for my son now.
Traditionally, these gujiyas are deep-fried. For a healthier version, I will also include the air fryer method as well as oven baking. I will also include the steps to shape the gujiyas, with mold or without the mold. This is an easy-to-follow recipe but requires a lot of patience.
GUJIYA INGREDIENTS
- FLOUR: Gujiya is usually made with all-purpose flour as it tastes great. But you can still use wheat flour, almond flour, etc. if needed.
- GHEE: Ghee (clarified butter) is added to flour. You can also add unsalted butter or olive oil.
- WATER: Room temperature water is added to form a dough. Add water little by little as the dough needs to be tight.
- KHOYA: Khoya or Mawa is used for the stuffing in guijiya. You can also make khoya at home using ricotta cheese or with milk powder. You need crumbled khoya for the recipe.
- COCONUT POWDER: Coconut powder is added to the stuffing and it gives a rich flavor to the recipe.
- SUGAR: Powdered sugar/ icing sugar works best in gujiya.
- DRY FRUITS: I have used almonds, cashews, raisins, and chironji (Calumpang Nuts).
- CARDAMOM POWDER: Cardamom powder gives a nice aromatic flavor to the stuffing. You can also add fennel seeds powder along with nutmeg powder in the stuffing.
- OIL: Oil is used for deep frying. If air-frying or baking in the oven, then you don't need a lot of oil.
HOW TO MAKE GUJIYA
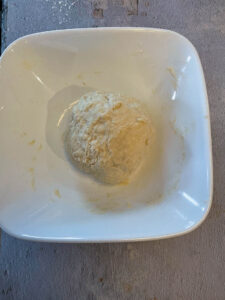
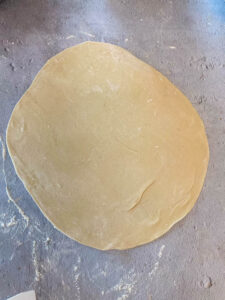
- MAKE THE DOUGH: Put all-purpose flour and ghee in a bowl and mix lightly. Then slowly add water until it forms like a dough. Do not add too much water as the dough needs to be a little tight.
-
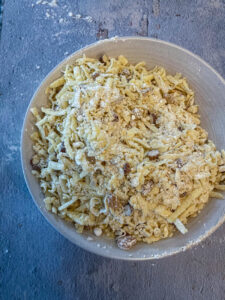
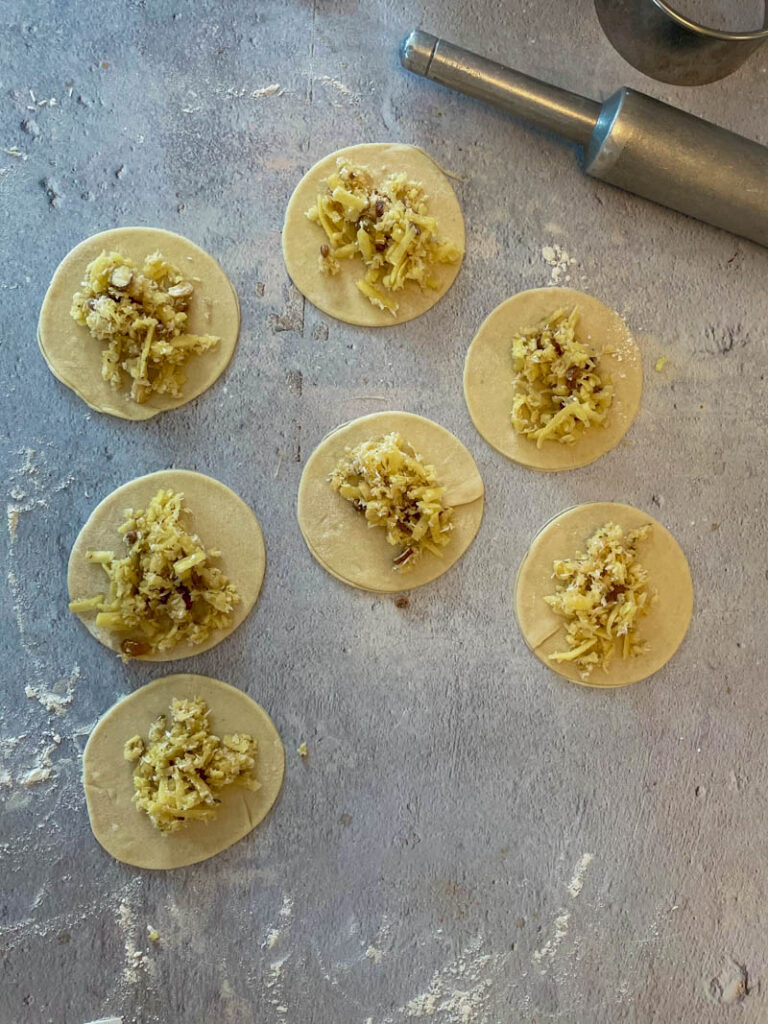
- MAKE STUFFING: In another bowl, add khoya/mawa, dry fruits, cardamom powder, coconut powder, and fennel seeds powder. Mix these ingredients until they are properly combined.
-
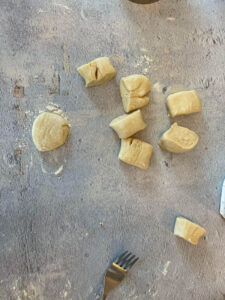
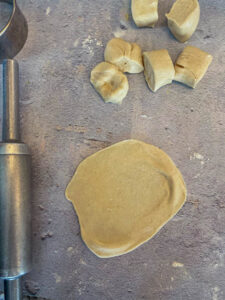
- MAKE BALLS: Make equal size balls (of around 1-inch diameter) from the dough.
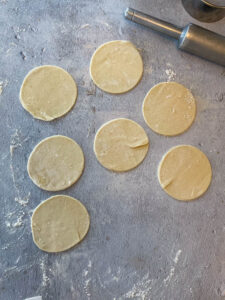
- ROLL THE DOUGH: Roll the ball on the flat surface using a rolling pin.
-
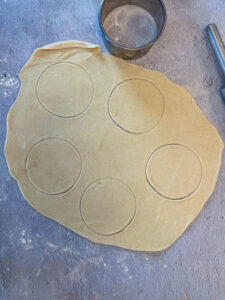
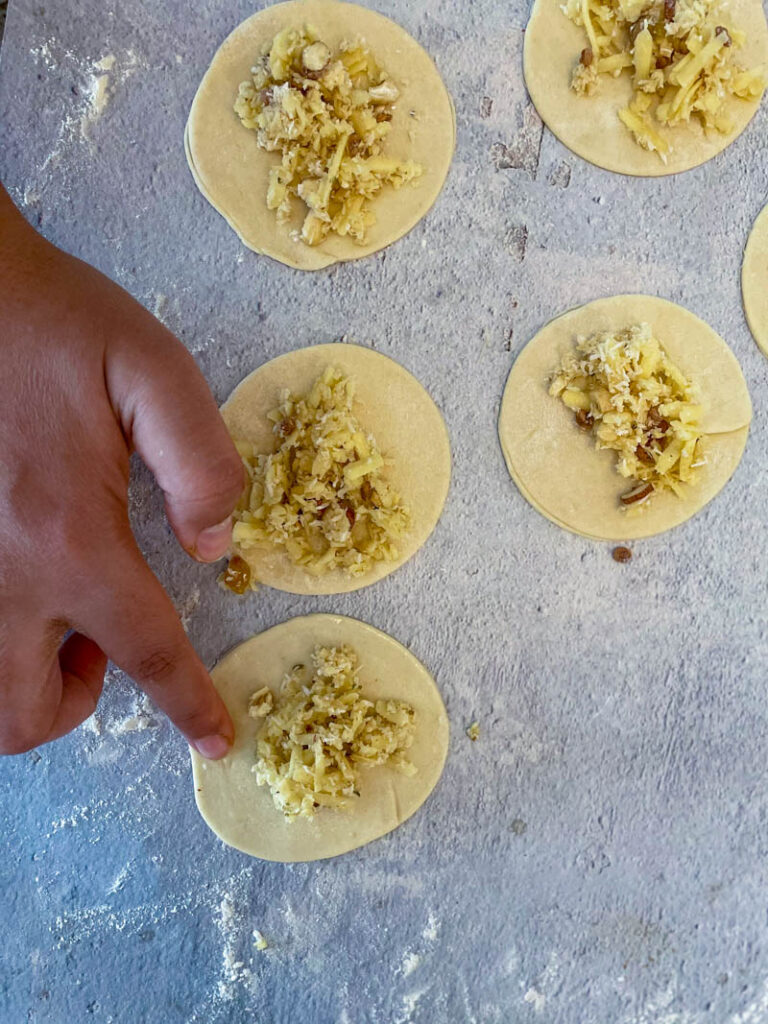
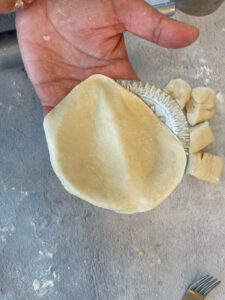
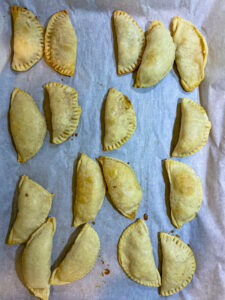
- CUT THE DOUGH: Now the cut the dough using a medium-size cookie cutter or a small bowl. Or to make the process easier you can also use a mold to shape the gujiyas.
-
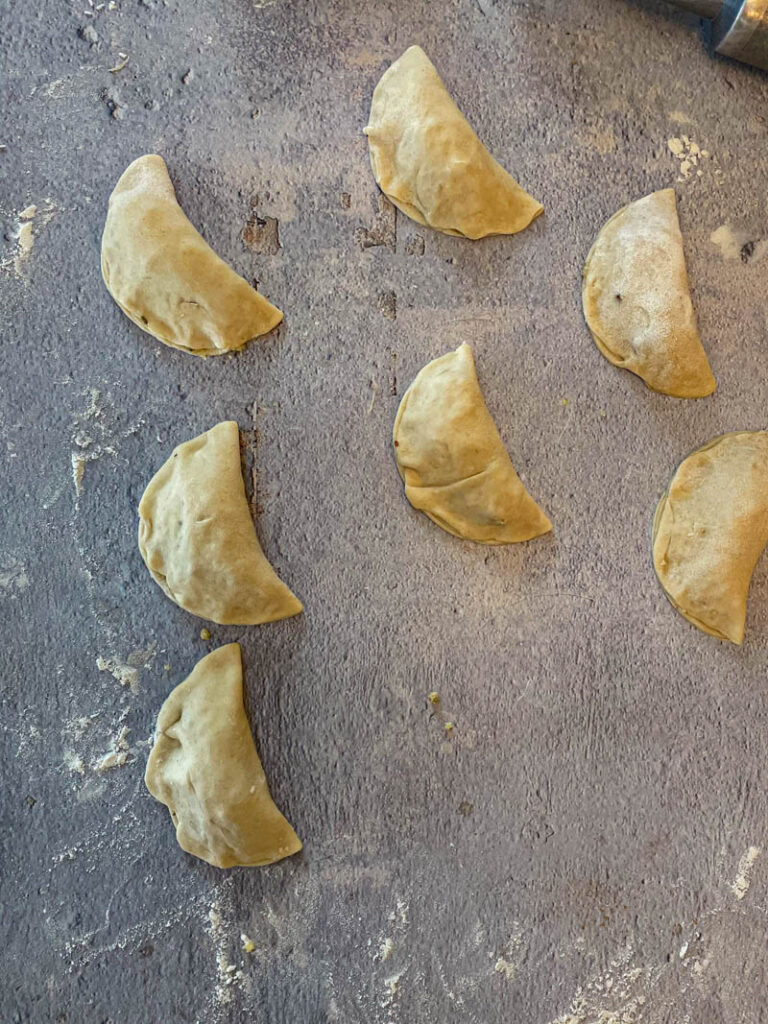
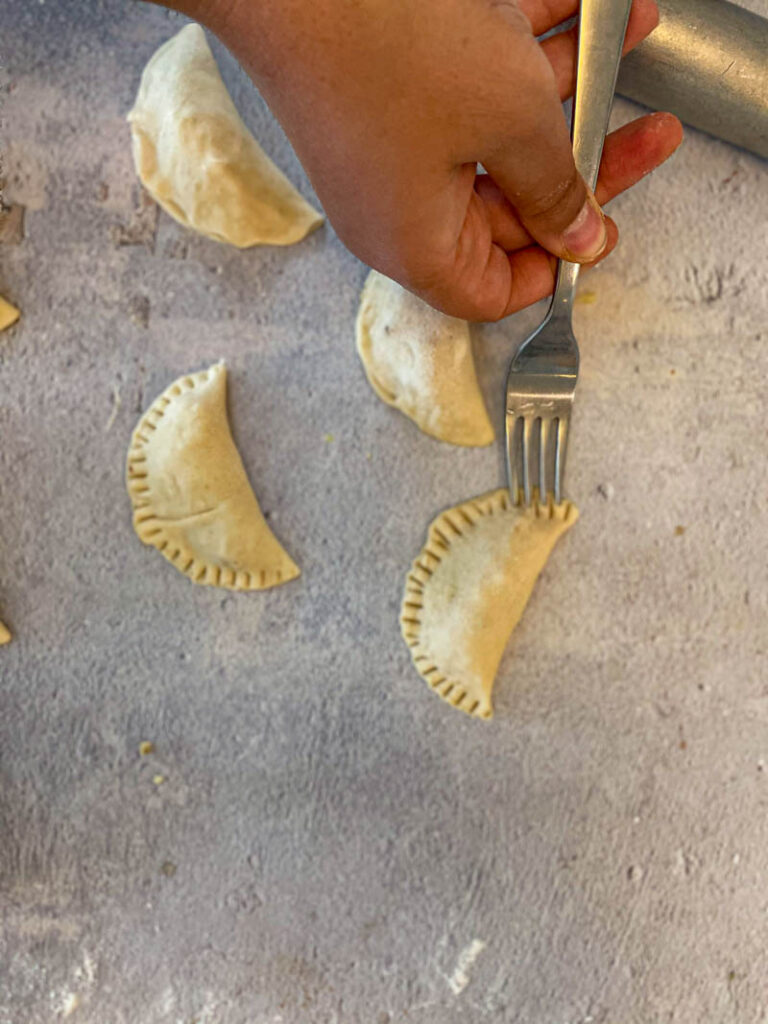
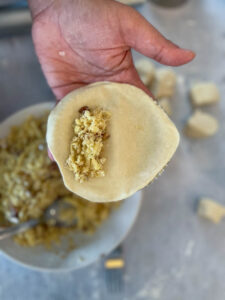
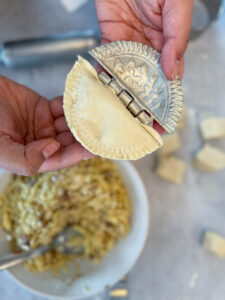
- ADD STUFFING: Now add stuffing in the middle and close the edges by applying a little water. Make a pattern on the edges using a fork.
-
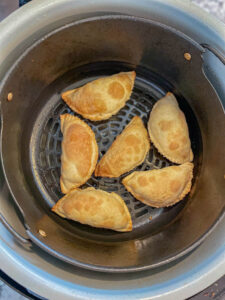
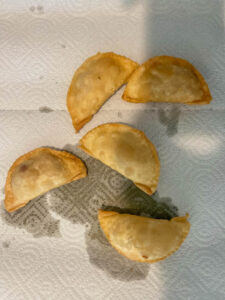
- COOKING GUJIYA: Frying - Fry gujiya at medium-low heat and do not overcrowd the pan. Baking: Place gujiya in a baking tray and brush some oil. Bake in the preheated oven for 15 minutes at 360F. Air-Frying: Preheat the air fryer for 3 minutes. Brush some oil on gujiyas and place them in an air fryer basket. Air fry at 360F for 8-10 minutes.
-


TIPS TO REMEMBER
- Make sure to knead the dough tight by adding water little by little. Let the dough sit for at least 30 minutes before making gujiya.
- When shaping gujiya using a mold, don't add too much stuffing. Because if you do then gujiya may not seal properly and it would break when frying.
- When shaping the dough without mold, add stuffing in the middle of rolled dough. Apply water on the edges and seal them.
- Always apply water on the edges before sealing. Otherwise, the edges may open and stuffing will comes out when frying.
- Always fry gujiya at medium-low heat. That way gujiya will remain crispy and it will taste delicious.
- GULAB JAMUN RECIPE | HOW TO MAKE GULAB JAMUN WITH KHOYA OR MILK POWDER
- CHOCOLATE MOUSSE CUPS
- PEANUT CHIKKI/ PEANUT BRITTLE
- BESAN LADOO RECIPE | HOW TO MAKE BESAN LADOO
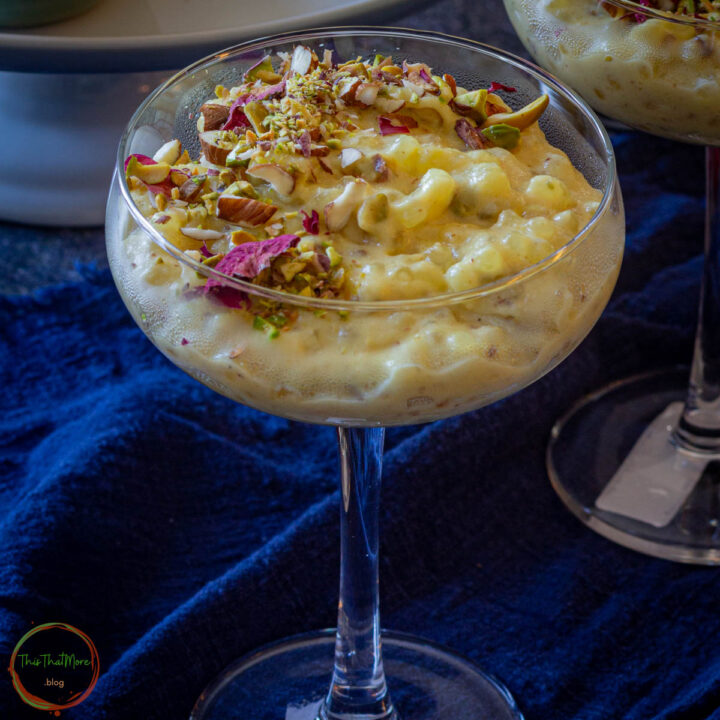
- SABUDANA KHEER (TAPIOCA PUDDING)
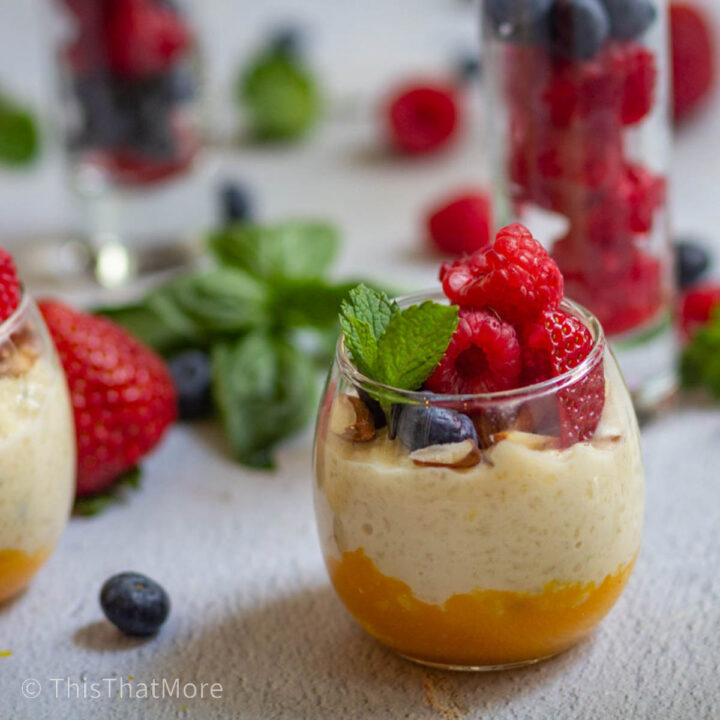
- MANGO FLAVORED RICE PUDDING (MANGO KHEER)
- HOW TO MAKE UBE CHEESECAKE IN INSTANT POT USING PURPLE SWEET POTATO
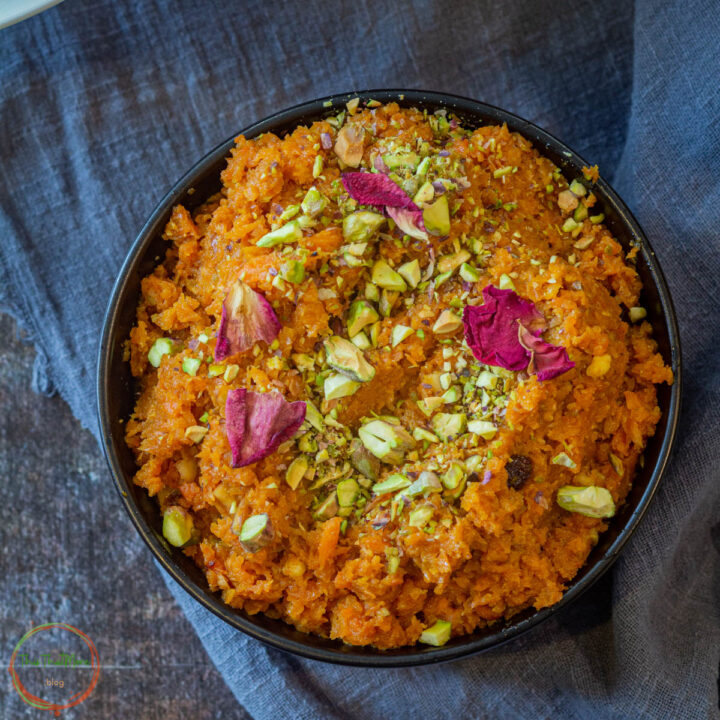
- GAJAR HALWA (CARROT PUDDING)

GUJIYA
Equipment


Ingredients
Gujiya Dough:
- 3 cups All-purpose flour
- 1 tbso Ghee (clarified butter) or unsalted butter or olive oil
- 1.5 cups Water or as needed
- Oil for frying
Gujiya Stuffing:
- 1 cup Khoya or Mawa
- 1 cup Powder Sugar/ Icing Sugar
- 5 tbso Coconut Powder
- ½ cups Nuts almonds, cashews, raisins, chironji (or Calumpang Nuts)
- ½ teaspoon Cardamom Powder
- ½ teaspoon Fennel Seeds/ Powder
Instructions
HOW TO MAKE DOUGH FOR GUJIYA:
- Put all-purpose flour and ghee in a bowl and mix lightly. Then slowly add water until it forms like a dough. Cover the dough with a plate and let it rest for at least 30 minutes. (Note: Do not add too much water as the dough needs to be a little tight).
HOW TO MAKE STUFFING:
- In another bowl, add khoya/mawa, dry fruits, cardamom powder, powdered sugar, coconut powder, and fennel seeds powder. Mix all the ingredients until they are properly combined.
HOW TO SHAPE GUJIYA:
- WITHOUT MOLD: Take the dough on a flat surface. Using a rolling pin, roll the dough until it is ¼-inch in size. Then cut the dough using medium-size cookie cutter. Repeat the process for rest of the dough.WITH MOLD: Divide the dough in equal size balls. Roll the ball until it is ¼-inch in size. Add water on the edges of the mold. Then line the rolled dough in the mold (Make sure that dough is long enough that it covers the edges of the mold). Repeat the process for rest of the dough.
ADD STUFFING IN GUJIYA:
- WITHOUT MOLD: Now add stuffing in the middle and apply a little water on the edges. Close the edges. Make a pattern on the edges using a fork. WITH MOLD: Put 1 tablespoon of stuffing on the dough. Apply water on the edges and close the mold. Apply pressure and take out the extra dough. Open the mold and carefully remove gujiya from the mold and place on a floured surface or on a parchment paper.
HOW TO COOK GUJIYA:
- OVEN: Pre-heat oven at 350°F for 15-20 minutes. Line parchment paper on the baking sheet. Place gujiyas on the baking sheet. Leave some space between two gujiyas. Spray some oil or butter on gujiya. Once the oven is preheated, place the baking tray in the oven. Bake for 15 minutes at 350°F.AIR-FRYER: Pre-heat air fryer for 3 minutes at 360°F. Once it is preheated, place the gujiyas in the air fryer basket (don't overcrowd the air fryer basket). Spray some oil or butter and air-fry for 8-10 minutes at 360°F. FRYING: Add oil in kadai or a frying pan at medium-low heat. Once the oil is hot then put the gujiyas in the oil. (Don't overcrowd the pan, add 3-4 gujiyas at one time). Once one side is cooked, flip the gujiya and cook the other side. When both sides are golden in color, remove the gujiyas and place them on a paper towel.
SERVE GUJIYA:
- Let the gujiyas cool down and reach room temperature. then you can store them in an air-tight container. You can serve them hot or cold.
Video
Notes
Leave a Reply